A Comprehensive Guide to Ear Tunnels and Stretching
Dating back centuries, many cultures around the world practiced ear stretching. This act was used to signify tribal identification and social status or was practiced for religious rituals. Originating from ancient cultural practices, modern ear stretching has evolved into a fashion trend. It’s a form of self-expression that challenges conventional beauty norms and celebrates diversity.
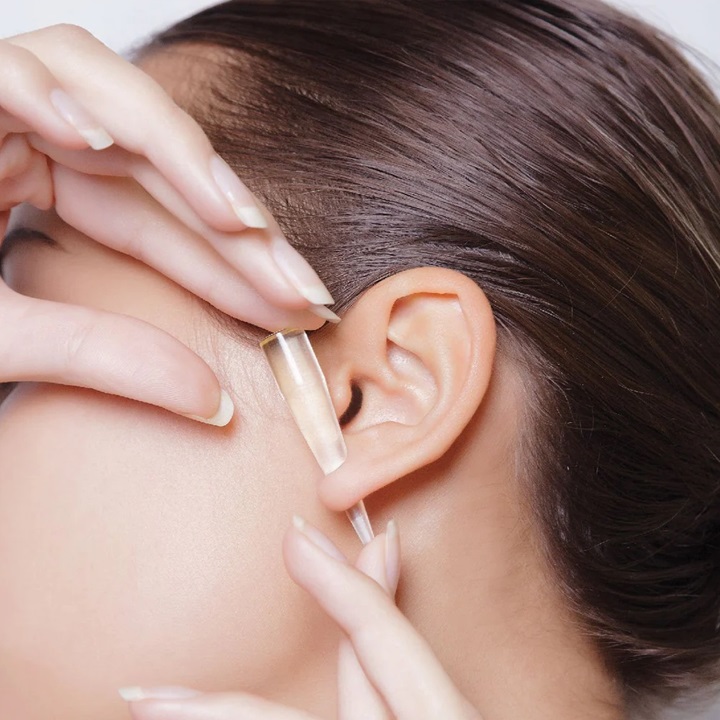
As the first step in your stretching journey, you need to pick the right ear tunnel. If you are considering trying out this technique, there are several things to keep in mind.
Sizing and Measurement
If this is your first stretch, you need to start with piercing your ear with a standard piercing. Before putting the first ear tunnel in to start the stretching, your ear holes must be completely healed. Then, you can continue with gauging, starting with either 18 gauge or 16 gauge.
A gauge size refers to the thickness or diameter of the tunnel earrings used to stretch the ear lobe. For instance, most start at 18 gauge, which equals 1mm, although many decide to go with 16 g, which is equivalent to 1.2mm. As a rule of thumb, the larger the gauge number, the smaller the size of the hole. There are various sizes, which range from 18 g, all the way up to 0g or 8 mm, and 00g or 10 mm.
Some people prefer to start with larger sizes, and it mostly comes down to the sensitivity of the earlobe. However, it’s preferable to begin small and gradually increase the size as your ears heal. You can also go with a 3mm by using a titanium tunnel. However, this should be done at a professional piercing studio to avoid unwanted bleeding and infections.
When it comes to moving up in size, it’s helpful to know that wearing a heavier ring or plug can accelerate the stretching process due to the added weight.
Choosing the Right Jewellery

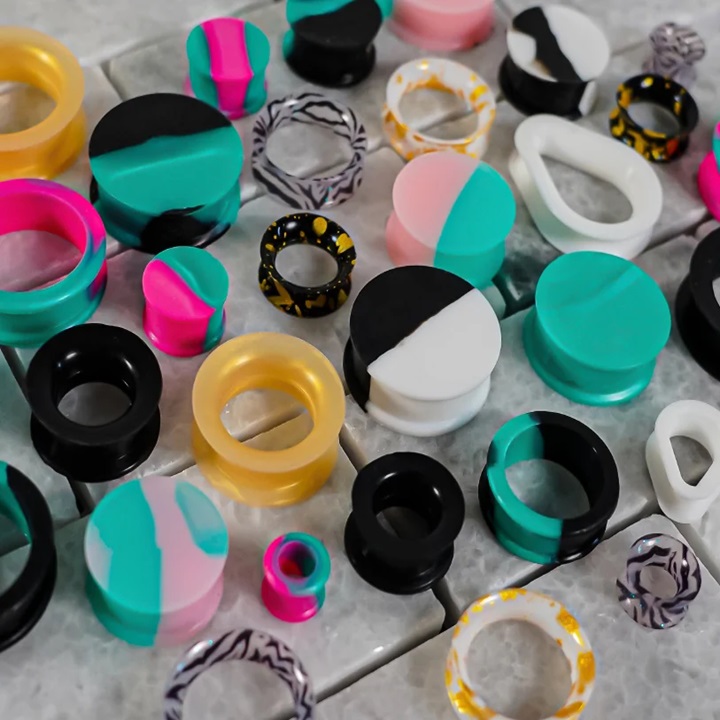
Ear tunnels come in various shapes and styles, and the choice depends on personal preferences. However, there are some nuances in the materials that you might want to consider before choosing yours.
Lighter materials such as glass, silicone, acrylic or wood are comfortable for everyday use. Earring tunnels made from these materials do not put excessive strain on the earlobe, which makes them quite suitable for extended wear. Also, folks who prioritise comfort in their daily routines might find that lighter options are more suitable for their lifestyle.
Heavier materials, on the other hand, such as surgical steel or stone, are great if you want a more luxurious or bold appearance and to make a statement. Undoubtedly, heavier tunnels draw more attention and look more edgy. Of course, this will mostly depend on your style. Although heavier than other materials, non-porous metal is particularly convenient for everyday wear because it’s easy to maintain and clean.
Your ear sensitivity can also dictate the choice of material. For instance, if your earlobes are sensitive to propane, then choosing a stainless steel or silicone tunnel might work better for you.
When it comes to style, there is a great variety, from minimalist designs for a casual look to intricate and striking pieces. Besides wooden, steel, and silicone tunnels, you can also choose ear tunnels with different finishes, such as rose gold, silver or brass. When it comes to gold, however, it’s good to know that it is not recommended to use when doing the stretching. When you reach your desired size and your ears are properly healed, then you can wear them with no problem.
How Long Should I Wait Between Stretches?
The usual time frame between stretches is about 6–12 weeks. Keep in mind that everyone’s body is different, so you may need a longer or shorter time to heal. Some people will need to wait a longer period before they go up in size.
This is because when you stretch the ear lobe, you’re not only stretching the fistula, but you’re also stretching and displacing the skin’s lower layers. It takes time for the skin’s tissue to properly heal before it’s ready for further stretching.
The most important thing during this process is patience. Do not rush because you might end up with unhealed ears and a painful infection.
How Do You Take Care of Stretched Ears?
When you start the stretching, you can notice some discharge from the holes. This is mostly a normal occurrence, and it does not necessarily mean your ear is infected. However, it’s important to never touch the tunnels with unwashed hands during that time. The skin is still vulnerable, and you risk transferring bacteria that can cause infection.
Hygiene is number one when it comes to the proper healing of the earlobes. You should wash your earlobes daily. Wash them using antimicrobial soap and warm water, preferably two times a day. To clean the tunnels, use a piercing solution, or you can also use a saline solution by applying it directly to the inner sides of the tunnels.
Another way to wash the ear holes is to dissolve a non-iodised sea salt in a cup of warm water. Soak your earlobes in the solution for two to three minutes every day.
It’s also important to moisturise your earlobes when stretching to reduce the risk of tearing. Massage them using jojoba oil or vitamin E oil for at least 5 minutes per lobe. The best time to do this is right after showering because the hot steam helps the earlobes loosen up and keep the moisture in.