How to Create Your Home Brewery
To brew or not to brew? That is the question. There is something oh-so-special about homemade drinks and food. Starting your brewery is just the spice you can add to your daily schedule. This new hobby will keep you busy and fulfilled as you await to roll out your first batch. I welcome you to look with me at the must-have items for your first home brewery.
Where to Start Homebrewing?
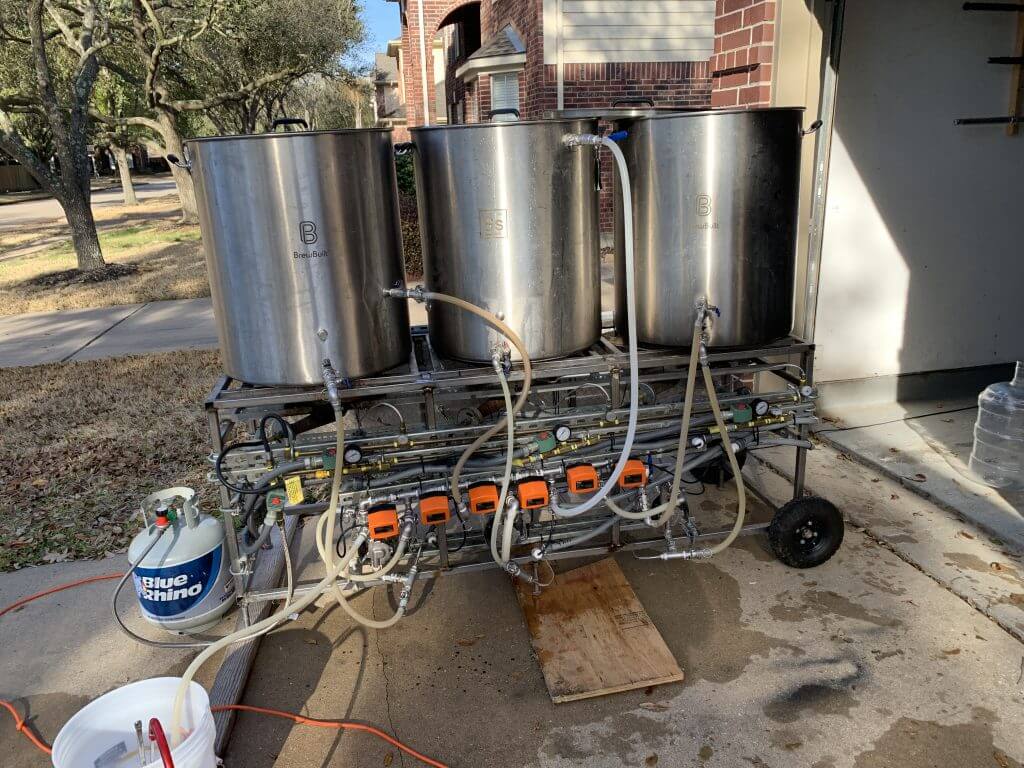
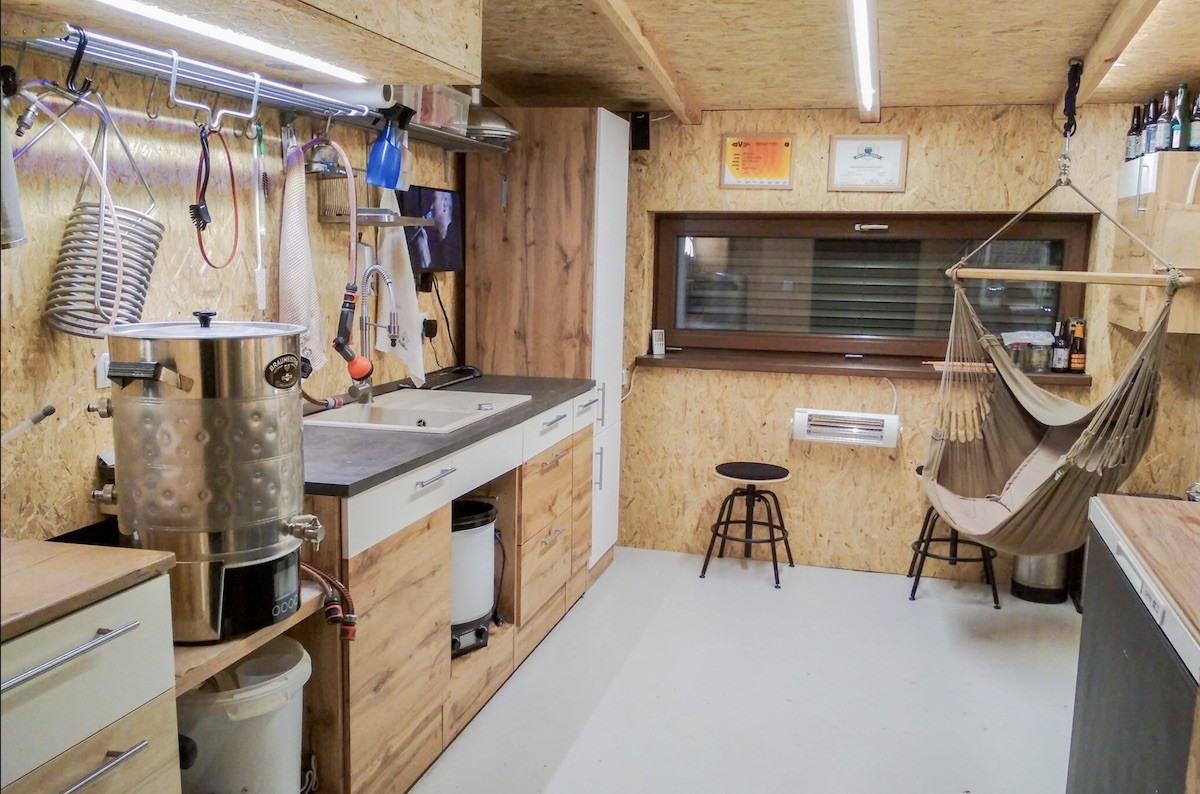
The best room to set up for brewing beer can be any room you have extra space for. Keep in mind you will need many pieces when you start. The best room is a basement or garage, should you have one of these, because the type of atmosphere in these two has an element of darkness matched with being out of the common walk places of your home. These features are great as you will need to allow your beer to ferment uninterrupted.
Must-Have Equipment
I am sure your excitement is brewing over as you look for the equipment pieces for your new brewery. You will not need to delay production if you pick up these essential online brewing supplies you can buy from a specialised brewing store:
- Beer Recipe – This is the first and most important item because, well, we aren’t born making beer. You can find a step-by-step guide to know how to go about the brewing. Also, online you can buy a complete kit for any specific beer you want to make.
- Brewing Kettle – Also called a brew pot, this isn’t your average kettle for brewing water. A beer brewing kettle is a crucial part of the online brewing supplies as you cook 60 minutes or longer your new beer concoction of wort, hops, sugars and a range of other flavours.
- Fermenter – This mechanism is what makes beer, beer. You use this to allow your yeast to convert the glucose in the wort to the essential ethyl alcohol and CO2 you need for an alcohol-filled bubbly beer.
- Airlock – This goes hand in hand with the fermenter. This keeps any bacteria and dirt particles away from ruining your brew before you get to taste it. Without using an airlock, you allow the process of fermenting to hasten, and it also leaves you open to more elements that can contaminate your batch.
- Funnel – A funnel is not a must for brewing, but it does make your life easier. This is perfect to transfer your liquid best friend to smaller bottles before you can enjoy it.
- Sanitizer – I can’t stress this enough. You have to properly sanitise the home brew supplies and equipment you will use for brewing. This protects you from mould and harmful bacteria. Among these popular brewing supplies, you will find oxygen and iodine-based cleaners. There are specially made to properly clean out your brewing equipment. Be sure to carefully read the instructions as they are real chemicals and should be handled with care.
- Auto-Siphon – This handy tool is used to safely remove liquid while brewing. This reduces the amount of little bit of sediment.
- Stir Spoon – This spoon isn’t just like your soup spoon. It’s a great spoon for moving lumps and slumps you don’t desire to have in your batch. I would recommend a stainless-steel spoon as this is durable, easy to clean, and can sustain many years of use.
It’s Time to Brew
Beware, this will get a little sciencey, but you will love the end outcome. Ok, I know after reading all of this your head must be spinning, but don’t be alarmed. You only need to take one step at a time. Remember nothing worth having comes to you easily. Thankfully for you, I am trying to make it as easy as possible.
First, be sure to sanitize all of your equipment. Begin by brewing steep grains. For a 5-gallon brew kettle fill with 2.5 gallons of water. Keep in mind, you should steep your grains for 20 minutes, or until your water reaches 170 degrees. Next, remove the grains. Once your kettle comes to a boil, remove it from heat and add malt extracts such as liquid or dry powder. Wait until it all dissolved.
Continuing on, hops can now be added in (don’t worry your beer won’t hop away). Now you have an almost alcohol beginning also called sugar water, or wort. Finally, cool the wort in an ice bath. Now you are more than halfway done, so let’s keep going with the final few steps. I will continue to break them down one by one.
First, put the cooled alcohol sugar into the fermenter, and add water. Next, move the yeast around as yeast needs oxygen just like we do. So, splash it around a bit with your stirring spoon. In addition, add dry yeast into the fermenter to start the brewing magic. Soon you will have the alcohol pouring out.
Finally, it’s time to close the lid. Don’t forget the airlock. Follow the recipe you chose online as to how long you need to ferment (this should be up to 2 weeks). And, remember to keep your beer in a dark place. But wait, there’s more! It’s sugar time. After you have fermented the beer for a couple of weeks, there is only one more bit to cook in.
You need to boil your priming sugar in 16 oz of water. After it cools, add it directly to the bottling bucket. Last but not least, you get to use the auto-siphon to take the beer from the fermenter to the bucket, and then to the bottle. Drink up!
Your home may start to smell like yeast. Your friends may be surprised by your new endeavour, or even be sceptical. Be assured you will be successful, and you will eliminate all of their concerns with the first sip they have of your very own at-home brew. What will you name it?