From Wick to Wax: Mastering the Basics of Candle-Making
Candle-making is an ancient craft that has become a popular hobby. It allows individuals to explore their creativity and create personalised, aromatic masterpieces. Whether for relaxation, gifting or as a business, candle-making offers a unique blend of creative expression and practicality.
Essential Tools and Materials for Candle-Making
Wax
At the heart of every candle lies wax. Various types for sale, such as paraffin, soy, and beeswax, offer distinct characteristics. The choice of wax impacts the candle’s appearance, burn time, and scent.
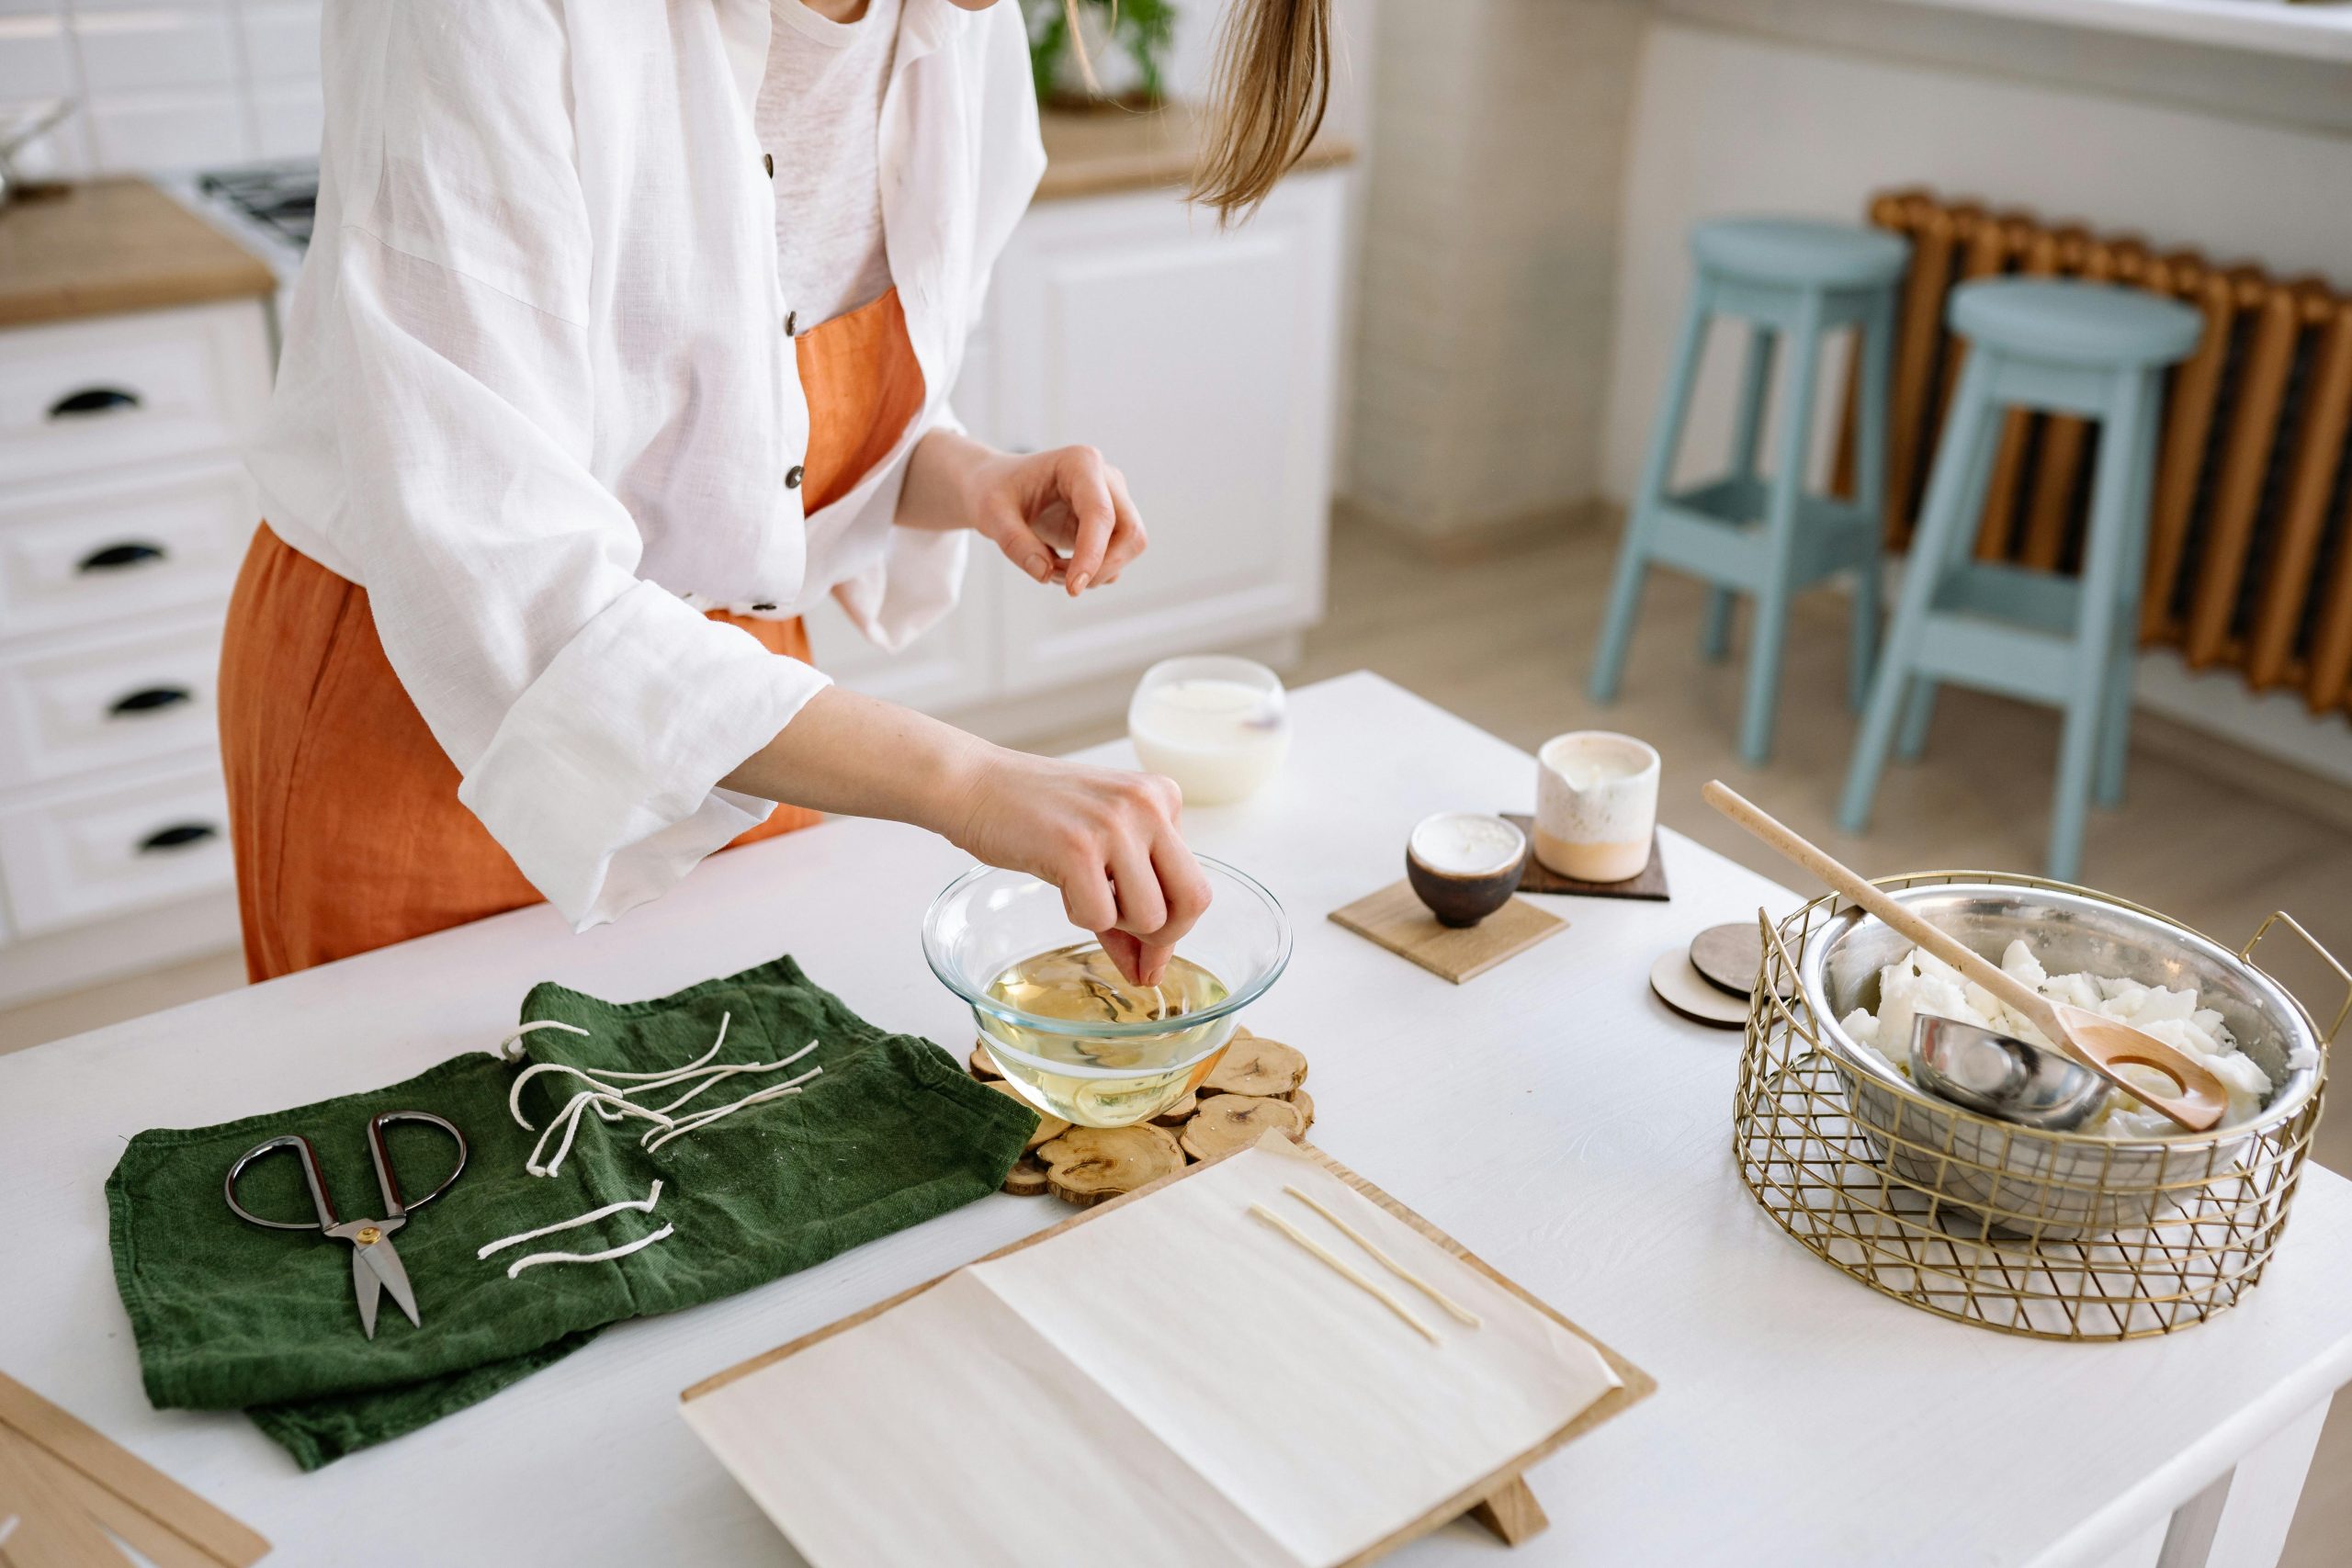
Wick
Wick for candles, a seemingly unassuming component, plays a pivotal role in the enchanting world of candle making. A sturdy candle making wick is a conduit that transforms wax into a dancing flame, infusing a space with warmth and ambience.
Cotton wicks, a popular choice, boast a clean burn and consistent flame, making them suitable for many candle styles. Their versatility allows seamless integration into various waxes, ensuring an even and steady burn throughout the candle. Cotton wicks are favoured for their minimal ash production, contributing to a visually appealing and low-maintenance candle.
On the other hand, wooden wicks bring a distinctive charm to the candle-making process. These candle wicks crackle softly as they burn, mimicking the soothing sounds of a fireplace. Wooden wicks are known for their flame, providing an excellent option for larger candles. Beyond functionality, they introduce an aesthetic element, creating an immersive experience that engages multiple senses.
Selecting the appropriate candle-making wick size is an art in itself. The diameter of the wick determines the rate of wax consumption, affecting the candle’s burn time and performance. A carefully chosen candle wick ensures an optimal balance, preventing problems like tunnelling or uneven melting.
Whether cotton or wood, thick or thin, the candle-making wick is a silent architect, guiding the transformation of wax into a luminous spectacle. As you embark on your candle-making journey, the choice of candle wick becomes a thoughtful decision, influencing the technical aspects of your creation and the emotional resonance it brings to the spaces it illuminates.
Fragrance Oils
For scented candles, fragrance oils are a delightful addition. Aromatic oils come in different enticing scents, providing makers with custom options. Essential oils elevate the sensory experience of candles. It’s always best to know the amazing therapeutic properties of essential oils that can be infused into a candle.
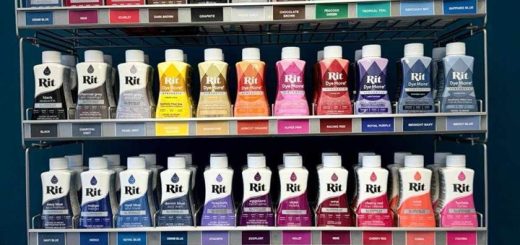
Dyes or Pigments
Adding colour to candles enhances their visual appeal and overall aesthetic. Dyes or colourants come in forms like liquid, chips, or blocks. Experimenting with different colours allows creative expression, whether crafting vibrant statement pieces or subtle, pastel creations.
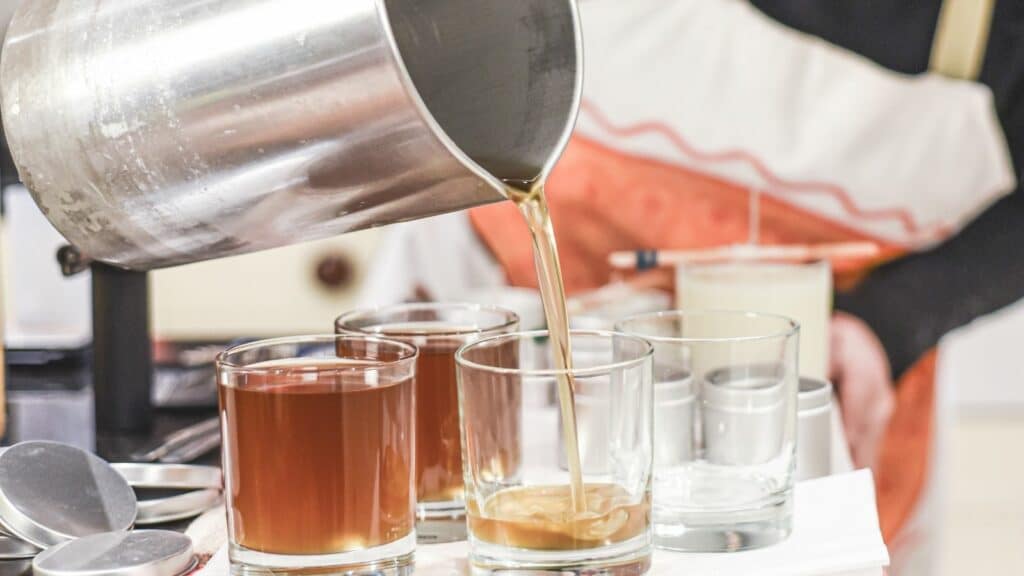
Pouring Pot
A pouring pot is a practical tool for melting and pouring wax. Designed with a spout, it facilitates precise pouring without creating a mess. Many kits include pouring pots of heat-resistant materials like aluminium, ensuring a safe and efficient candle-making process.
Thermometer
Maintaining the temperature is crucial in candle making. A thermometer helps monitor the wax temperature, preventing overheating or uneven cooling. Consistent temperature control contributes to the quality and longevity of the finished candles.
Stirring Utensils
Simple wooden sticks or metal stirrers are essential for blending fragrance oils, colourants, and wax. Ensuring a homogeneous mixture enhances the overall quality and appearance of the candles.
Candle Moulds or Containers
Candle moulds or containers provide the structure for your candles. Molds come in various shapes and sizes, allowing for creativity in candle design. Containers, like glass jars or metal tins, offer a convenient and decorative option for housing candles.
Wick Holders or Centering Devices
Keep the wick centred during the cooling, using holders or centring devices. These tools prevent the wick from drifting to the sides, ensuring a symmetrical and aesthetically pleasing result.
Step-by-Step Guide for Beginners
- Prepare Your Workspace: Set up a clean and organised workspace. Cover surfaces to prevent wax from spilling, and ensure proper ventilation. Gather all tools and materials, placing them within easy reach.
- Choose Your Wax: Select the type of wax that suits your preferences and project. Whether paraffin, soy, or beeswax, each has unique qualities affecting scent throw, burn time, and appearance.
- Select the Right Wick: Choose a wick based on the diameter and the type of wax used. Wicks come in various sizes and materials. Cotton wicks are popular for a clean burn, while wooden wicks provide a cozy crackling ambience.
- Measure and Melt the Wax: Measure the desired amount of wax and place it in a pouring pot. Use a double boiler or microwave to melt the wax. Monitor the temperature with a thermometer, aiming for the recommended melting point for your chosen wax.
- Add Fragrance and Color: Once the wax melts, stir in fragrance oil and colourant if desired. Be mindful of the recommended fragrance concentration and colour proportions. Stir thoroughly to ensure an even distribution.
- Prepare the Wick and Container: Dip the wick’s base in melted wax and adhere it to the centre of the container. Use a wick holder or centring device to keep it in place. Ensure the wick is straight and properly positioned.
- Pour the Wax: Carefully pour the melted wax into the container, leaving about half an inch from the top. Take your time to avoid spills. If making multiple layers or using different colours, allow each layer to cool before pouring the next.
- Cool and Trim the Wick: Let the candle cool and harden completely. Trim the wick to about half an inch above the surface. This ensures a clean burn and prevents excessive flickering.
- Final Touches: Once set, personalise it with additional decorations or labels. Consider creating unique labels with the fragrance name and date of creation for a personal touch.
- Cure and Test: Let your candle cure for a day or two. This allows the fragrance to develop fully. After curing, test your creation. Light the candle, and enjoy the soothing ambience and delightful scent.
Maintenance and Storage Tips
- Cleaning Tools – After each session, wipe down tools like stirring utensils and pouring pots. A clean workspace not only ensures pristine creations but also extends the life of your equipment.
- Storing Fragrance Oils and Dyes – Keep fragrance oils in a cool, dark place to maintain their potency. For dyes, whether liquid or solid, seal them tightly to prevent air exposure. Proper storage ensures your scents last, and your colours remain true.
- Storing Leftover Wax – Store wax in airtight containers sorted by colour or type. This organised approach turns stored wax into a valuable resource for future projects, whether for multicoloured candles or experimenting with different blends.
- Extending Tool Lifespan – Handle tools like pouring pots and thermometers with care. Avoid drastic temperature changes to ensure these tools remain reliable throughout your candle-making journey.
- Labelling and Organisation – Create a labelling system for your supplies. Mark your containers with fragrance names, dye colours, and wax types. This simplifies your candle-making process and prevents mix-ups, ensuring each creation aligns with your vision.