3 Tips on How to Work with Paperclay Easier
Sculptors, ceramic artists and crafters would probably agree that one of the most versatile and easy-to-work-with clays is paperclay. This is a lightweight, super easy-to-mould material made by ceramic clay and cellulose fibre, like paper pulp. But aside from recycled paper pulp, this cellulose fibre can also come from plant origins like cotton, hemp, flax, and linen, or from trees. This is one of those things that can be used for different applications. From creating fragile items to building larger, more complex structures.
How Strong Is Paperclay?
Even during the firing process, the paper in this clay literally burns out. Still, super-strong paperclay is adurable material. In fact, it’s said that this clay is stronger than any conventional clay when dried, with twice the tensile strength of normal clay when dried.
Given that this clay is super strong, it allows for raw glazing during the greenware stage. This is the process where the pot is fired once straight up to glaze temperatures, instead of the usual two separate bisque and glaze firings.
This raw glazing process means that the glaze is applied at the greenware stage, either when the pot is leather-hard and completely dry. According to professionals, this process can save energy because no additional firing or glazing is done. This clay is also known for its low or non-existent shrinkage properties, meaning it’s less likely to warp, crack or shrink during the drying and firing process. Additionally, this clay can be repaired if broken and rehydrated when dry.
Tips On How to Work With It
Even though it’s considered easy to work with, some tips and tricks can help you have a better experience, especially if you’re a beginner.
Keep it Moist
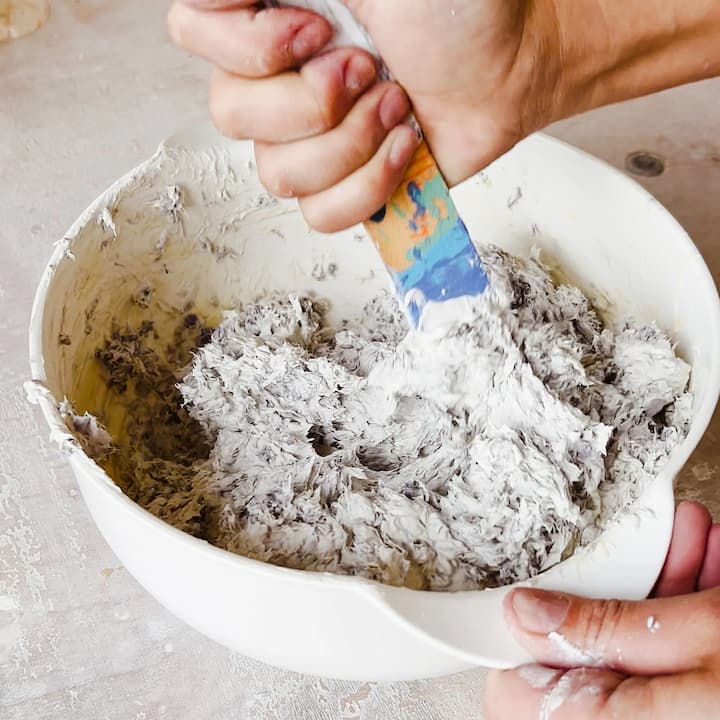
The first and most important advice you can get about this clay is that you should keep it moist to work easily with it. You can do that with a wet cloth, but using a spray bottle makes everything easier and faster to work with.
Use Non-Toxic Glue
Using a non-toxic glue for air-dry paper clay prevents shrinking or cracking, and whenever there’s extra clay, store it in an airtight container or tightly sealed zip bag. To extend its life, you can add a damp paper towel inside the bag and remove as much air as possible prior to zipping it.
Use carving Tools
Adding details to your product can be done with a toothpick if you’re a beginner. Doing this can be achieved better with small carving tools. You can sand the final product with fine-grit sandpaper. Smoothing air-dry paper clay can also be done while still wet with your fingers, a spoon or a liquid clay that can be brushed or applied onto the sculpture.
Some Essential Tools You Might Find Useful

Given the fact that working with clay is a creative process that many find inspiring and forgiving, using certain tools can certainly help you achieve what you have imagined and even more. These tools won’t only make work easy, but they’ll also help you add some details that cannot be achieved with your hands.
Shaping Tools
Even though a big part of shaping can be done with your fingers, tools are needed to accomplish a specific effect or result. Metal and wooden tools are among the most commonly used, but an important thing you should know when using wooden ones is to dampen them before use to prevent sticking. You can also use those metal nail art tools, as they are amazing for creating details without making any sharp edges.
Carving and Cutting Tools
Practice shows that carving and cutting this clay should be done completely dry. This is essential for having great results, otherwise, you risk tearing the clay and damaging the final product. One of the first and most commonly used tools for the purpose is the utility knife. Make sure the blade is sharp because you can cut yourself easily when working with dry clay and a dull blade. Using a smaller hobby craft knife is also an option for tight spaces and cutting details with precision.
Smoothing Tools
Smoothing tools might be the least used tools throughout the process, but they are as essential as the other tools. After finishing your sculpture, you might want to smooth out certain areas. This can be done with wet or dry clay.
You can use your fingers or the back of a spoon, as it has no sharp edges. Keep in mind that the spoon can be used on both wet and dry clay by pressing the texture.
The dry smoothing technique requires fine-grit sanding paper from 60 – 100 grit for a velvety smooth surface. Depending on the sandpaper grit, you can achieve great finishes with sanding. Just keep in mind that sanding means a lot of mess and dirt, so doing this outdoors is better than indoors.